#ProjectServer 2016 Preview is now officially available #PS2016 #MSProject
|
I am a Project Server and SharePoint consultant but my main focus currently is around Project Server.
I have been working with Project Server for nearly five years since 2007 for a Microsoft Gold Certified Partner in the UK, I have also been awared with the Microsoft Community Contributor Award 2011. I am also a certified Prince2 Practitioner. This article has been cross posted from pwmather.wordpress.com (original article) |
Project Server 2016 preview is now officially available (it has been in the SharePoint 2016 preview for a few weeks). See the link below for details:
Download today and take a look.

#ProjectServer and #SharePoint 2010 / 2013 September 2015 Cumulative Update #PS2010 #SP2010 #PS2013 #SP2013 #MSProject
|
I am a Project Server and SharePoint consultant but my main focus currently is around Project Server.
I have been working with Project Server for nearly five years since 2007 for a Microsoft Gold Certified Partner in the UK, I have also been awared with the Microsoft Community Contributor Award 2011. I am also a certified Prince2 Practitioner. This article has been cross posted from pwmather.wordpress.com (original article) |
The Office 2013 September 2015 updates and cumulative updates are now available, please see the links below:
Project Server 2013 September 2015 CU Server Roll up package:
***There is no cumulative / server roll up package this month*** See: http://bit.ly/1K7feXI
Project Server 2013 September 2015 update:
http://bit.ly/1OcxULz
Project 2013 September 2015 update:
http://bit.ly/1K7fg1N
Also worth noting, if you haven’t done so already, install Service Pack 1 http://bit.ly/1uorn2C first if installing the September 2015 CU.
The Office 2010 September 2015 updates and cumulative updates are now available, please see the links below:
Project Server 2010 September 2015 CU Server Roll up package:
http://bit.ly/1K7feXJ
Project Server 2010 September 2015 update:
http://bit.ly/1OcxW6g
Project 2010 September 2015 update:
http://bit.ly/1K7ffdW
SP2 is a pre-requisite for the Office 2010 September 2015 updates.
As always, fully test these updates on a replica test environment before deploying to production.
#SP2016 Technical Preview–testing the new stuff–part 1–Document Libraries–Accessibility
As part of the new features of SharePoint 2016 On-Premise there are some bold promises that have been causing issues with my customers for a long time that are supposedly fixed.
I intend to create some post that tries out these known limitations and see the results.
For this, I have created a standard Team Site out of the box and not turned on any features that are not turned on by default (yet…).
Here is a quick summary of what I shall be looking at for the next set of posts:
- Document Library Accessibility (https://msdn.microsoft.com/en-us/library/Mt346121(v=Office.16).aspx#doclib)
- Durable Links
- File names – expanded support for Special Characters (https://msdn.microsoft.com/en-us/library/Mt346121(v=Office.16).aspx#file)
- Image and Video Previews within a document library (https://msdn.microsoft.com/en-us/library/Mt346121(v=Office.16).aspx#preview)
- Large file support (https://msdn.microsoft.com/en-us/library/Mt346121(v=Office.16).aspx#largefile)
- Open Document Format (ODF) support (https://support.office.com/en-us/article/Set-Open-Document-Format-ODF-as-the-default-file-template-for-a-library-bf30a61d-1601-486e-8fa2-924bc5ea303e)
That’s quite a lot for a single post, so this may end up being a multi part situation, but you have probably already gathered, I tend to write these blogs as I try things out. So without further ado…
1. Document Library Accessibility
For this test I am using the standard Shared Documents, document library that is created with the team site by default.
Accessibility it always a hot topic for me as I used to work a lot in the education and charity / not for profit sectors when I was back in the UK. Accessibility mattered especially when working with the blind.
Keyboard shortcuts are provided for the following document tasks according to the documentation provided by Microsoft. Let’s give them a go:
- Alt + N – New – This worked with no issues and in a standard document library, I got the Upload Document dialog. This is dependent on the behavior of the default content type on the library. (Site Pages creates a new Wiki Page for example)
- Standard Document Library Example:

- Site Pages Example:

- Alt + E – Edit – In IE11, I could not get this to work as it kept invoking the edit menu in the browser. Tried CTRL + E, CTRL + Alt + E with a document selected and not selected but to no avail.
- Alt + U – Upload – Same functionality as Alt + N in the Shared Document library. Under the Site Pages library, it activated the upload dialogue. So it is slightly different.
- Alt + M – Manage
- Alt + S – Share – Either having a document selected or not, this always highlighted and set focus on the Search Box for me
- Alt + Y – Synchronization – Opened the One Drive for Business web dialog to start the sync
- Sync Example:

This is the Technical Preview, so maybe it will change with the full release or perhaps I am not doing something right. These tests were carried out with Accessibility mode turned on and off. The results were the same in both cases.
So I have had this post going on an off for a couple of days now, so it will definitely be multi part. Let’s get this one out there and we will work on Durable Links next time around.
Till the next time…

#SP2016 Technical Preview–SharePoint 2010 Workflows still available!
So I am running a project internally at the moment about moving away from a vended product to a capability in Office 365 / SharePoint Online using out of the box functionality as much as possible (cost saving exercise) – The Oil & Gas industry is hitting hard times if you haven’t seen commodity prices lately!
Anyway, this interim / temporary solution requires me to send an email to an external user.
With the SharePoint 2010 workflow engine, you could do this with a standard SharePoint Designer workflow.
In SharePoint 2013 they essentially deprecated the SharePoint 2010 workflow engine and introduced a new Azure based version.
This newer workflow engine requires the user that you send an email to an authenticated user with Active Directory / Azure Active Directory. This causes me an issue for my temporary solution in SharePoint Online!
Can Nintex Help?
I initially thought… perhaps Nintex Workflow for Office 365 Workflow can help?
Alas, it is based on the SP2013 Workflow engine, so no luck there…
(To be fair, you can’t really blame Nintex for supporting the current standard… I would do the same)
What are my options?
1. Add the external users to Azure AD – Not really an option in this case right now
2. Create a 2010 platform workflow with a single step – Email User. Call this workflow from the 2013 workflow and hope it stays supported – For this temporary solution, this may work but we all know how temporary often becomes permanent.
3. Create my own code / action to call a web service and send the email – This would work but for this temporary no code solution, it feels overkill. A good backup however, if the solution turns permanent.
4. Find a 3rd party product that can add actions. PlumSail has a package: https://plumsail.com/workflow-actions-pack/. $400 per year. – This is also a good option but there is of course this gotcha!
There isn’t going to be a SharePoint Designer 2016.
SharePoint Designer 2013 however still works.
Conclusions
Now that I have my newly installed SP2016 On-Premise environment and I can confirm that this is still currently available when you connect SharePoint Designer 2013 to a SP2016 On-Premise server.

I can also confirm that as of the time of writing, it is also still available in SharePoint Online.
So for this “temporary” project, this is likely the way we will go, knowing full well, it might go away at some point.
Stay tuned for more posts about SharePoint 2016 as I answer my own questions about the real business issues I face.

#SP2016 Tech Preview -web templates from Bill Baer
just a very short post as I know I will want to find this again during the lifecycle of SharePoint 2016.
Web templates for the SP2016 Technical Preview: http://blogs.technet.com/b/wbaer/archive/2015/09/07/sharepoint-server-2016-it-preview-web-templates.aspx
#SP2016 Technical Preview – The Wizard Completes…
As I am going about my Labor Day weekend, I am slowly installing SP2016 for my development box at home.
This is part 3 of this mini blog series as I detail what I encounter and find new and interesting things to explore…
Where we left yesterday was letting the configuration wizard run (usually a big no no for people, but you have to try these things now and again… I know it leaves your configuration databases with GUID’s etc… but for the sake of this testing period, I’m OK with it.)
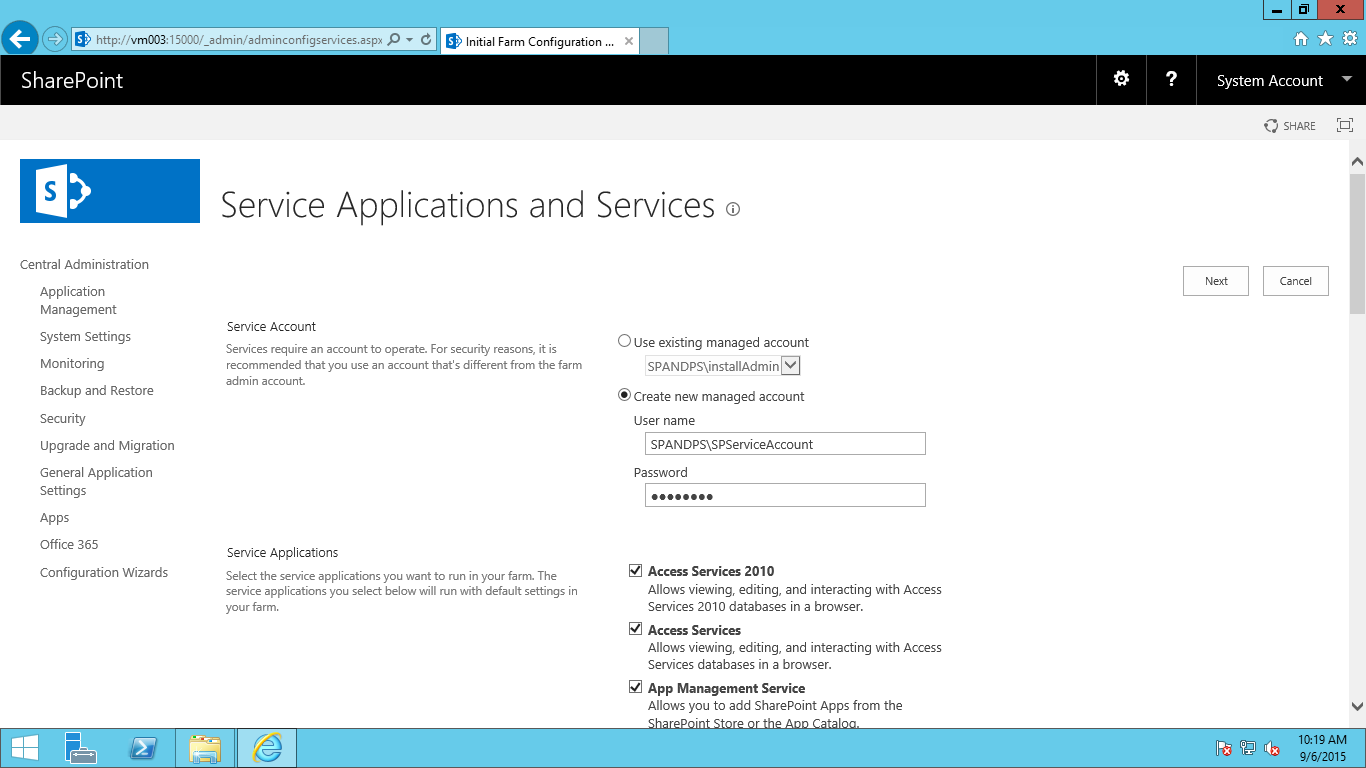

So to start with, we choose the services. I am keen to know how well the default runs so I am leaving the check boxes as they are.
We kind of have a new Managed Service:
- Project Server – Now part of the standard SharePoint installation. This should make patching and life in general easier! (Previously it was a separate install and quite easy to get the versions out of sync if you weren’t careful)
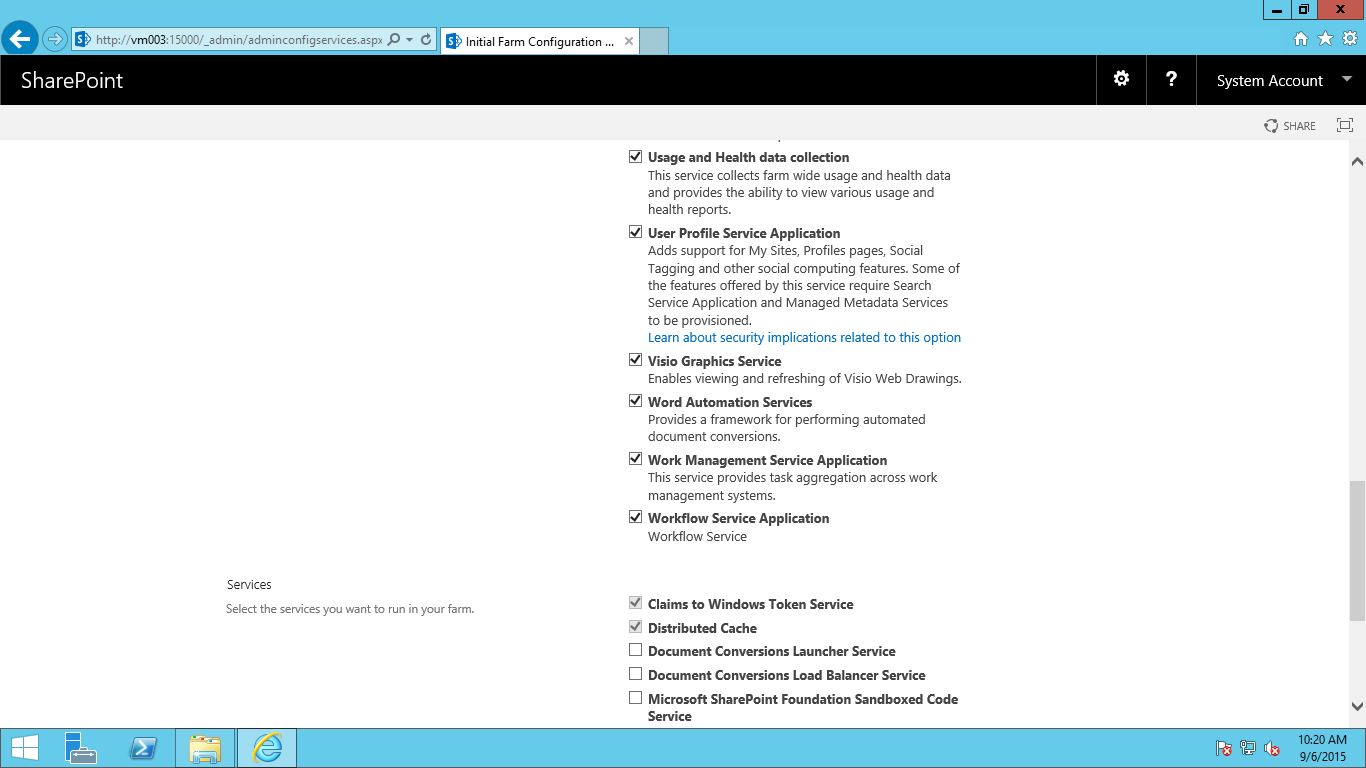
We also have the Services section at the bottom with something new…
- Microsoft SharePoint Insights – not too much to go on for this one with the documentation but Bill Baer suggests that future unannounced functionality is coming in this MSDN Forum post last week: https://social.technet.microsoft.com/Forums/office/en-US/b5d745f3-e4a0-4879-aaff-1cb157cb718a/the-service-instance-microsoft-sharepoint-insights-could-not-be-provisioned-because-of-the?forum=SP2016
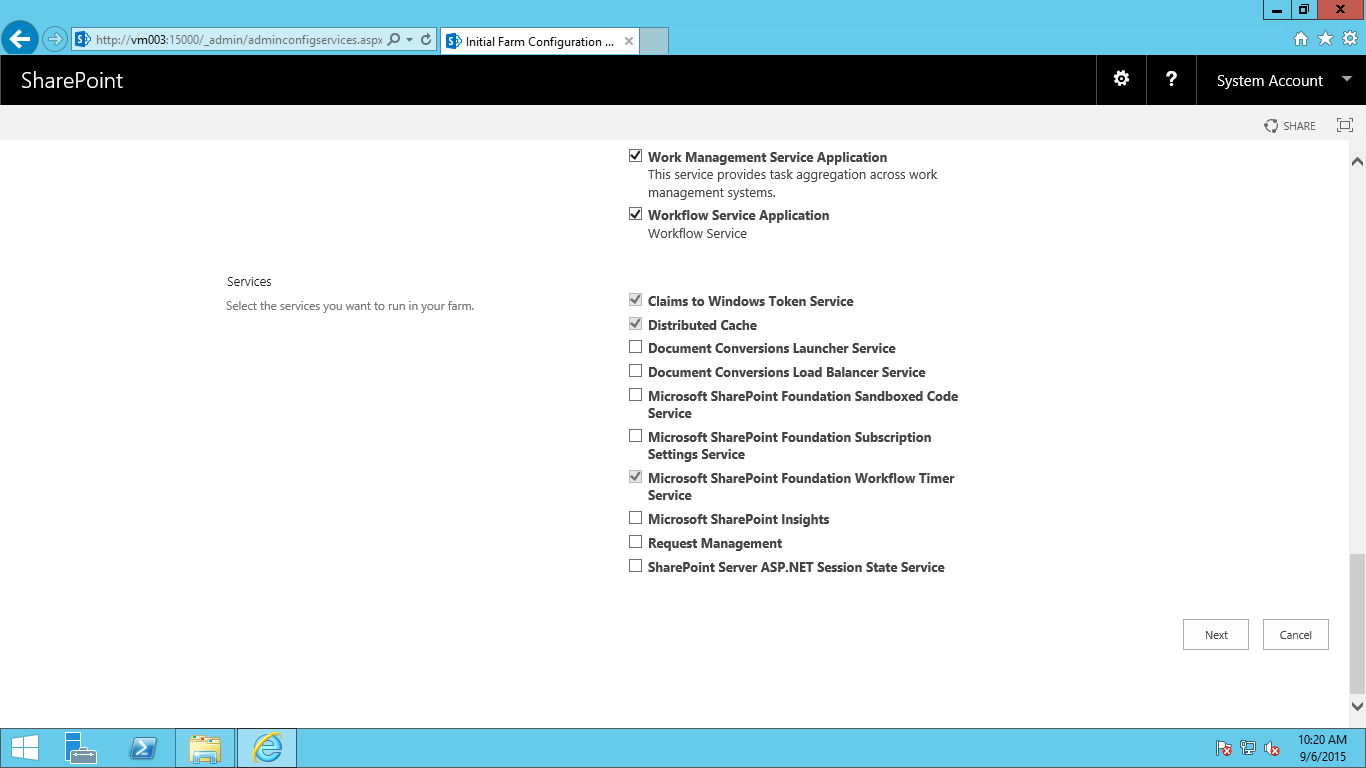
I press Next and we get the familiar working on it screen from SharePoint 2013 and are then requested to create a site collection:

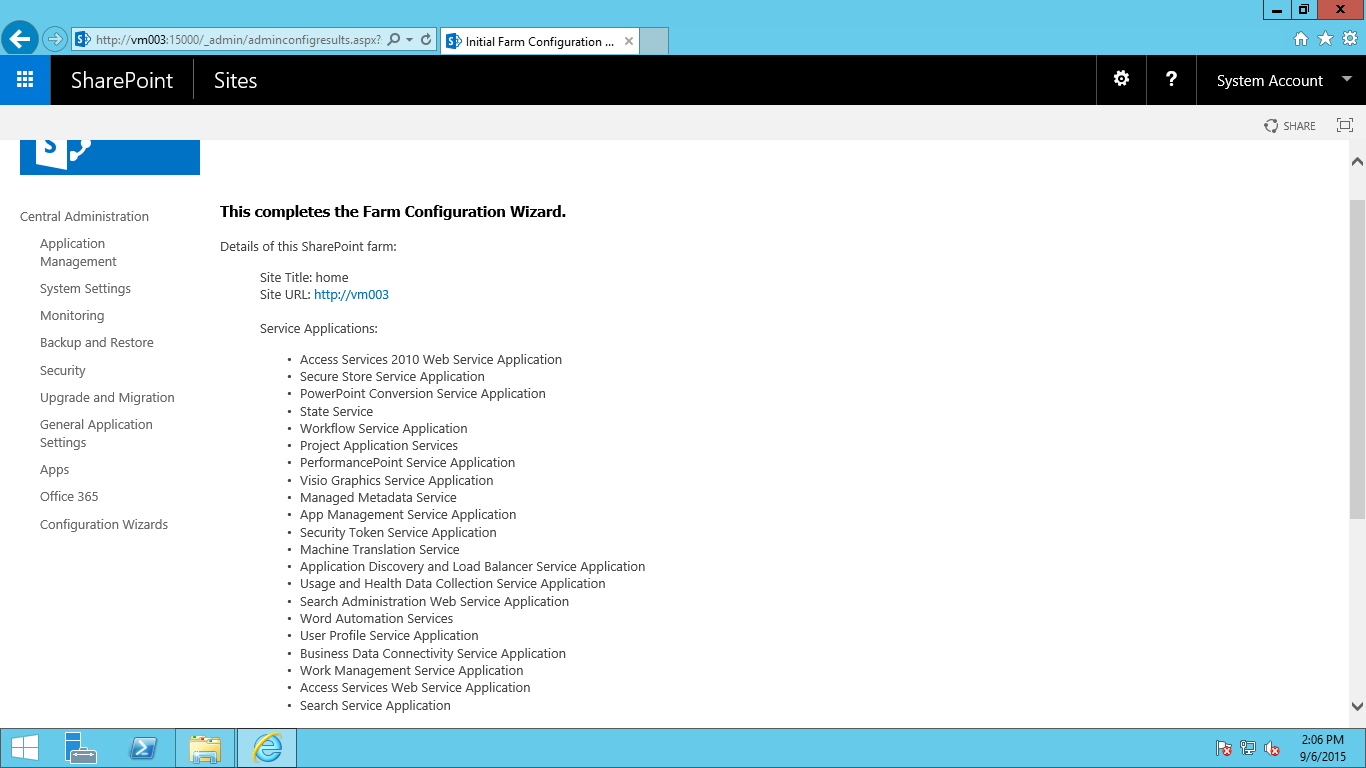
Once created, we get our success screen of all services:

On this screen we have the ability to configure the new Hybrid features with Office 365 such as Search integration (via a new managed service) and OneDrive cloud integration (I shall investigate this in a later post)
Lastly, I check that the site collection worked as expected:
The site collection (team site) came up as expected with very little change apart from the top bar which has the app launcher on the left and the new site actions / user menus on the right. This resemble the ones that have been on Office 365 for a while now.
You can find out a bit more of the end user experience regarding the App Launcher for Office 365 in this blog here: http://epmsource.com/2014/12/07/customising-the-nav-bar-app-launcher-in-office-365/ (Thanks Alex :)). On initial inspection, the capability is not quite the same here but I will be investigating further.
In Office 365 they have just released the capability of adding your own icons via the tenant admin: https://support.office.com/en-us/article/Add-custom-tiles-to-the-My-apps-page-and-app-launcher-1136115a-75af-4497-b693-640c4ce70bc6 – I will confirm that this is available On-Premise also.
Lastly, if you want to code your own via an Azure App…https://msdn.microsoft.com/en-us/office/office365/howto/connect-your-app-to-o365-app-launcher – This is again for Office 365 but I suspect there is similar capability for On-Premise.
Looking at the site settings, we have a couple of new things (or perhaps things I hadn’t noticed in 2013 SP1…)

- Site Closure and Deletion policies – this will be useful for those operational cleanups and potential compliance requirements large enterprises have.
- Search and offline availability – Search availability is not new, but the offline availability I do not remember being in SP2013 via this menu (perhaps permission levels with remote interfaces). Again this could be good for compliance purposes, especially for Legal sites.
- Lastly, Site collection health checks… I need to start these running but if we can code our own health checks based on company governance… this could be awesome!
Anyway… I am off to a baseball game in an hour… one of the last games of the season for the Round Rock Express. They are playing the Iowa Hawkeyes! This is the first game I have seen since moving over here… exciting stuff!

VS.

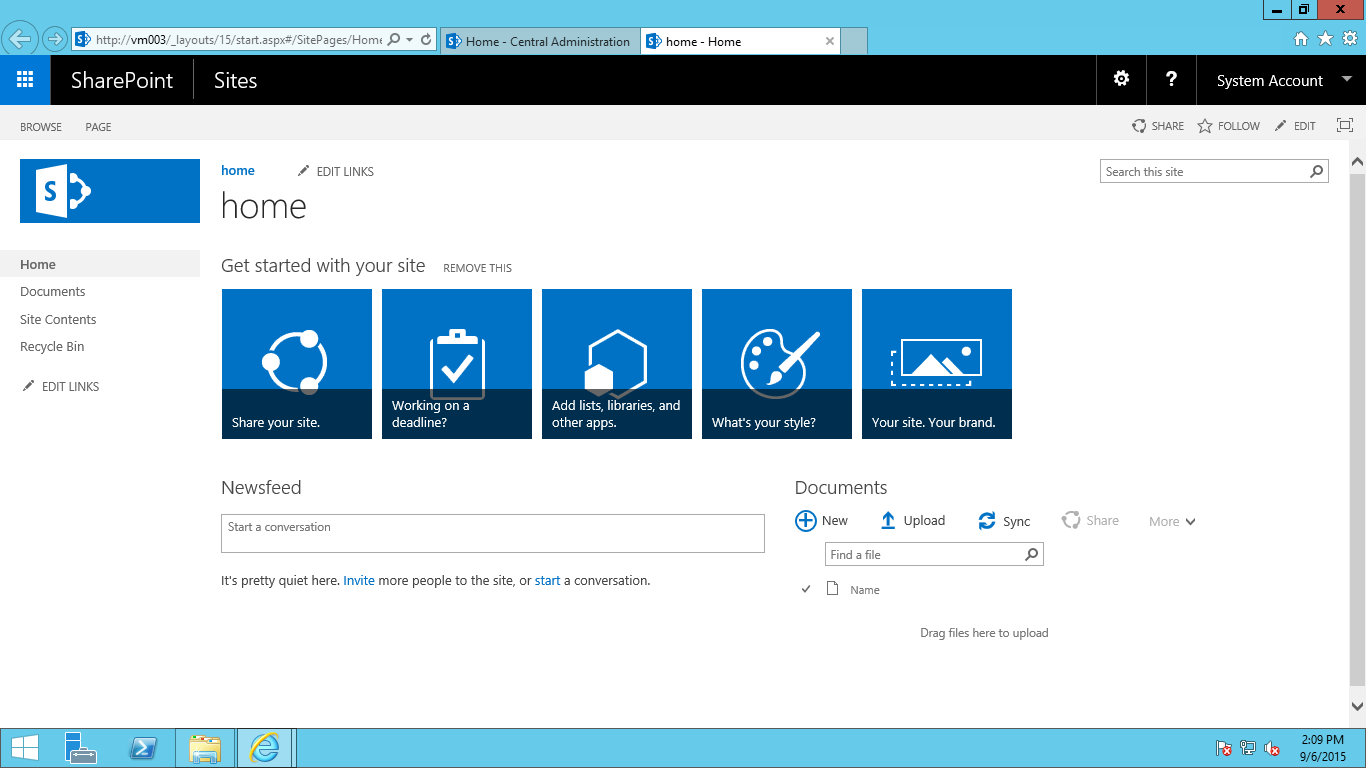
#SP2016 Technical Preview – installed…
Part 2 of my mini blog posts as I install SP2016 Technical Preview over this Labor Day weekend.
We’re installed! I chose Single Server Install right now as I have limited resources on my host and it is my intention to turn this into a DEV box for future App Model (Add In) projects.

Click Finish and Central Administration starts to load…

by all means send my info to the Customer Experience Program… it’s what this early access is all about!
Lastly, as you can see, Central Administration looks pretty familiar. For this Single Server Install I shall kick off the configuration wizard and see which managed services it installs by default.

Stay tuned for the next post as I kick off this process and blog the results…

#SP2016 Technical Preview installing as I write this…
Just a quick post to say that I am installing the SP2016 Technical Preview on my personal Hyper-V environment as I write this.
So lets look at the specs I am using.
Host: Windows 8 Pro, Core I7-4770 (3.4GHz Quad core with 8 logical CPU’s), 32GB RAM

NB: I haven’t gotten round to upgrading this PC to Windows 10 yet, but I will when the time is right.
Virtual Machines’s x 3:
- VM001: Active Directory, 2CPU, 1024GB RAM, Windows Server 2012 R2
- VM002: SQL Server 2014, 4CPU, 12288GB RAM, Windows Server 2012 R2
- NB: I initially set it up with 2CPU & 8192GB RAM and it failed during the installation of the binaries just like SP2013 does when you install it with a lack of power
- VM003: SharePoint 2016 TP, 2CPU, 12288GB RAM, Windows Server 2012 R2
All of this, with internal network switching setup and external access for patching etc…
Lastly, given that there is a lot of waiting about, I am watching the Last Ship on my Plex environment whilst I install 🙂

Stay tuned for more details…

Getting started with #ProjectOnline #Portfolio Analysis Part 2 #PS2013 #Office365 #Project #PPM #PMOT
|
I am a Project Server and SharePoint consultant but my main focus currently is around Project Server.
I have been working with Project Server for nearly five years since 2007 for a Microsoft Gold Certified Partner in the UK, I have also been awared with the Microsoft Community Contributor Award 2011. I am also a certified Prince2 Practitioner. This article has been cross posted from pwmather.wordpress.com (original article) |
Following on from my previous post on getting started with the portfolio analysis / strategy functionality where we looked at setting up the drivers and prioritisations we will now look at the analysis part. If you missed the first part, see the link below
In PWA, click the Portfolio Analyses link from the quick launch menu:
Firstly you might want to set up any project dependencies using the Project Dependencies button on the ribbon:
Dependencies are used to include or exclude projects, there are four options:
A “Dependency” is used if you have a situation where one project is selected (primary project) another group of projects are then required. A “Mutual Inclusion” is used if you have a situation where you have a group of projects that all need to be selected if one is selected. A “Mutual Exclusion” is used in the opposite situation to the Mutual Inclusion, if one of the projects is selected then the other projects in the group must not be selected. A “Finish to Start” is used if one project is selected (primary project) then the other projects in the group can’t start until the primary project is finished.
For this post, I have not set up any project dependencies as my data set is very small so we will now create an analysis.
Click the Portfolio Analyses link from the quick launch menu then click the New button on the ribbon and complete the details on the page, this includes a name and description, choosing the prioritisation type, selecting the projects to include and the cost custom field to use for the cost constrain analysis:
As you can see, there is also the option to analyse resource constraints, we will check this check box and more options will appear:
The options here include setting the start and end dates for the planning period to review, the planning granularity (months or quarters), the role custom field – in this example this was updated the “Primary Skill” custom field that was created. There are other settings to filter the resources either by department or RBS, the assignment booking type to use (committed only or committed and proposed assignments) and the project start and finish dates. In this example these were left as default apart from the role custom field.
Next click the Prioritize Projects button in the bottom right corner, this will show the project driver impacts as previously set on the Strategic Impact PDP:
The values can be changed here if needed by clicking in the cell. Click the Review Priorities button in the bottom right corner and the project priorities will be displayed:
Next click the Analyze Cost button in the bottom right corner:
The “Budgeted Cost” field will include the total from all of the projects in the analysis – this is the baseline scenario. If cost wasn’t a constraint we could just leave it there as all projects are selected. What we will do now is reduce the cost limit to $400,000 and recalculate:
Now a project has been moved out of the selection and the strategic value has reduced from 100% to 78%.There are two different charts to view, the default is the Efficient Frontier but there is also a Strategic Alignment chart:
You can also switch from a grid view (default) to a Scatter chart view:
Back on the grid view we can see it moved out the “Migrate Project Server to Project Online” project:
This might be a project we need to run so at that point we can force it in:
Now click the recalculate button on the ribbon to see the impact, it moved out the “New Document Management Solution” project but this also reduced the overall strategic impact to 76%:
This might be the scenario we need so as this point click the Save As button on the ribbon:
You can create multiple scenarios and compare these using the Compare button on the ribbon, this will give you a report like below:
Click close to return to the analysis. You can switch between the scenarios using the Scenario drop down menu:
Now the cost analysis has been done the resource analysis can be reviewed if required, click the Analyze Resources button on the ribbon:
As you can see, analysing the resources has also de-selected another project, the “Migrate Project Server to Project Online” project. This is due to lack of resource availability. At this point you can view the Deficit and Surplus reports:
In the screen shot above you can see that I have negative availability values for the IT Admin role in September and October. Detailed screen shot below:
You can also use the Requirements Details report – this is useful to see where there is a lack of resource availability for the projects, you can see in the resource availability grid the IT Admin role has 0 for September and October and project requirements grid highlights the resource deficit for the de-selected project in red:
You can also highlight the deficit in the resource availability grid using the check box in the top corner:
So now we have two options, we can either change the start date for one of the projects or hire additional resources. Switch back to the Gantt Chart view and in the Metrics sections, add 1 in the hired resources field:
Then press the recalculate button on the ribbon and both projects will be selected:
I will save this scenario as 1 hired resource:
In this example we know we needed an IT Admin for two months but in a large real world portfolio it is likely you would need many resources, the Hired Resource report will detail the type of resources you need, what projects they need to work on and how long you need them for:
Hiring resources is a great option if you are able to do so and when the project deadlines can’t slip.
The other option without hiring resources is to change the start of a project, switch back the the Gantt Chart and change the scenario to the baseline:
We are now back to the original resource analysis where only one project is selected, in the New Start date column for the de-selected project, change the date to July 2015 and recalculate:
Now the project is selected as the IT Admin role has availability then. This scenario can then be saved if required.
The next steps would be to commit the selected portfolio using the Commit button:
This action updates certain fields for the project and can also be used in a project workflow event for moving a project between stages – workflow will be coved in the next mini series of getting started.
Clicking on the quick launch link for the Portfolio Analyses will show all of the scenarios you just saved with links to each:
That is it for the getting started series for the Portfolio Analysis / Strategy functionality – a very quick intro but hopefully enough to get you started if you haven’t used this feature before.
Getting started with #ProjectOnline #Portfolio Analysis Part 1 #PS2013 #Office365 #Project #PPM #PMOT
|
I am a Project Server and SharePoint consultant but my main focus currently is around Project Server.
I have been working with Project Server for nearly five years since 2007 for a Microsoft Gold Certified Partner in the UK, I have also been awared with the Microsoft Community Contributor Award 2011. I am also a certified Prince2 Practitioner. This article has been cross posted from pwmather.wordpress.com (original article) |
Following on from a very popular series of blog posts on “Getting Started with Project Online” I have decided to extend that with another Getting Started series of posts for two areas I didn’t cover in the original getting started series found here: http://bit.ly/1IFInbc
The first mini getting started series will cover the Portfolio Strategy / analysis functionality then we will do the same for Project Workflow.
The Portfolio Strategy feature enables you to align projects with defined business drivers and objectives, the tool can then prioritise the projects based on how they fit with the business driver prioritisation. Further analysis can be done based on cost / resource constraints to work out the projects to run for the best strategic value. A detailed white paper for Project Server 2010 can be found here: Portfolio strategy with Project Server 2010 (white paper). The feature is the same in Project Online. This post will give a quick getting started intro to this feature.
For the purpose of this post I have a vanilla PWA instance with very little data. I have created a new Project Level custom field called “Budgeted Cost” and a new Resource level look up table field called “Primary Skill” – these will be used later. I have also created three very simple projects with values for “Budgeted Cost” and assigned resources to the tasks – these resources also have Primary Skills tagged against them. The projects contain some over allocations to show the resource analysis part. The projects I have are:
Here are the resources:
Now I can get get on with configuring the Portfolio Analysis part. Firstly I will create 5 business drivers. First I need to enable the Strategy links on the quick launch menu, click Edit Links on the left hand quick launch menu:
Check the check box for Strategy and the three links below the Strategy heading:
Click Save & Close from the ribbon menu. Now you should see these links appear on the quick launch menu:
Now we can see the Strategy links we can set up the drivers. To do this click on the Driver Library link and you will see the following:
Click the New button on the ribbon menu and complete the form for the first driver:
Complete each of the fields as required – only the Name is a mandatory field. Once you have created your drivers the Driver Library screen will look like this:
As you can see I have created the following drivers:
- Increase Market Share
- Increase Sales
- Decrease Internal Costs
- Improve Staff Morale
Now the drivers need to be prioritised, click the Drive Prioritization link on the quick launch menu and you will see the page below:
Click the New button on the ribbon and complete the form:
Click the button on the bottom right corner of the page to “Prioritize Drivers” and you will see the page to rate the drivers against each other:
In the example above I clicked the arrow in the “Select a Rating” box and choose how “Decrease Internal Costs” rates against the other drivers like below:
Once the first driver is completed it will look like this:
Click the Next Driver button in the bottom right corner to set the ratings for the next driver. Repeat this process until you get to the final driver then click the Review Priorities button in the bottom right corner. You will then see the driver priority as below:
What is key here is that the rating has been consistent, expand the Consistency Ratio option:
This should be at least 80%, the higher the better. You can create multiple driver prioritisations for different scenarios etc.
The next part is the analysis but before we look at that we will jump back to the Project Center and edit each project to set the impact of each project against the drivers, this is done on the Strategic Impact PDP as seen below for one of the example projects:
This was done for the 3 example projects I have created.
Now that is set up the next part is to create an analysis but that will be covered in Part 2 that will follow.


You must be logged in to post a comment.